Your kingdom project is set to a reference coordinate system, such as UTM XX N, and you would like to import a sgy file with a different coordinate system. However, Kingdom doesn’t support various CRS at the same time.
The procedure is as follows: 1) import the sgy file containing the coordinates, 2) export the navigation (i.e. the world coordinates), 3) convert the coordinates, 4) delete the profile, 5) import the new nav, 6) import the sgy without coordinates.
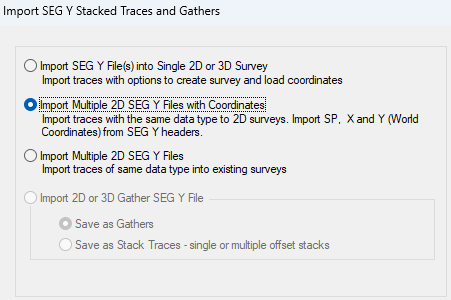
1) Import the sgy file: In kingdom, right click in the surveys pane and click import -> SEGY. You can also refer to this article: https://aurelieng.fr/?p=669
In the windows that opens, select Import Multiple 2D SEG-Y Files with Coordinates
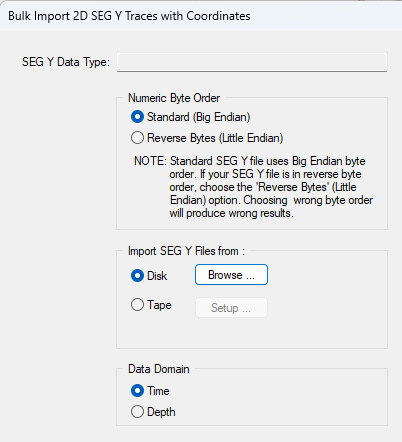
Browse to your sgy file and click ok
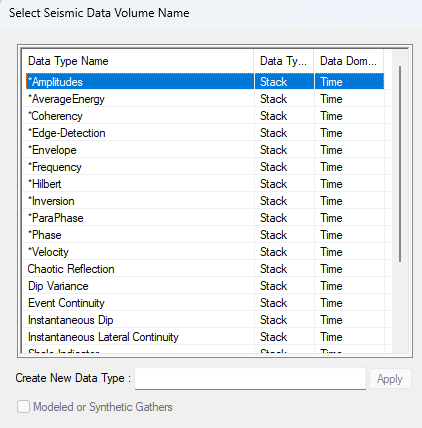
It’s supposed to be amplitudes, so just click ok
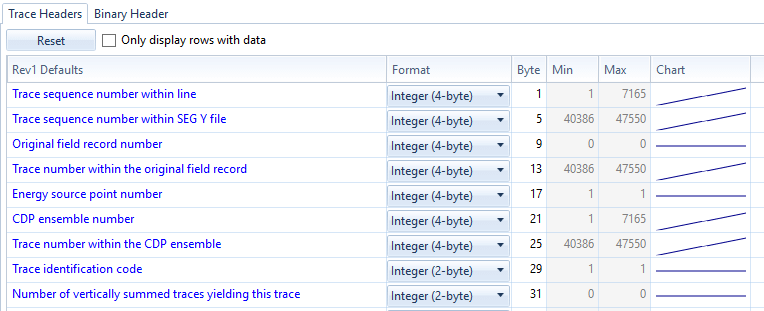
By default, the shotpoint starts in Byte is set to 17, the X and Y coordinates are in bytes 73 and 77.
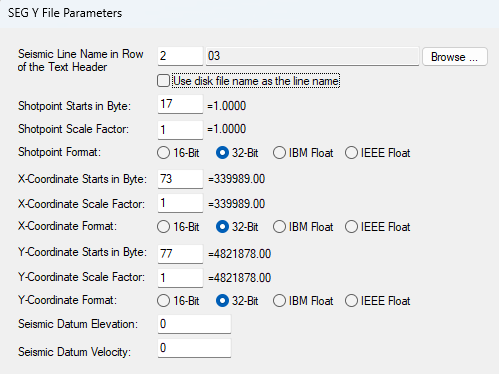
At this stage you must check whether these bytes are properly set. Open either SeismicExplore or SeiSee. In my case, there is nothing in byte 17 and the shot point can be set to byte 5.
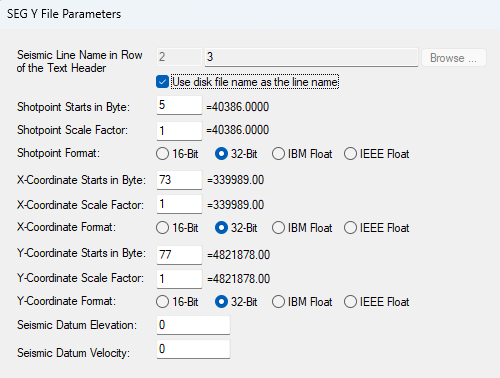
In the next window, you can also check whether the parameters are correct or not.
Then set the output format to 32-bit to get the best resolution possible.
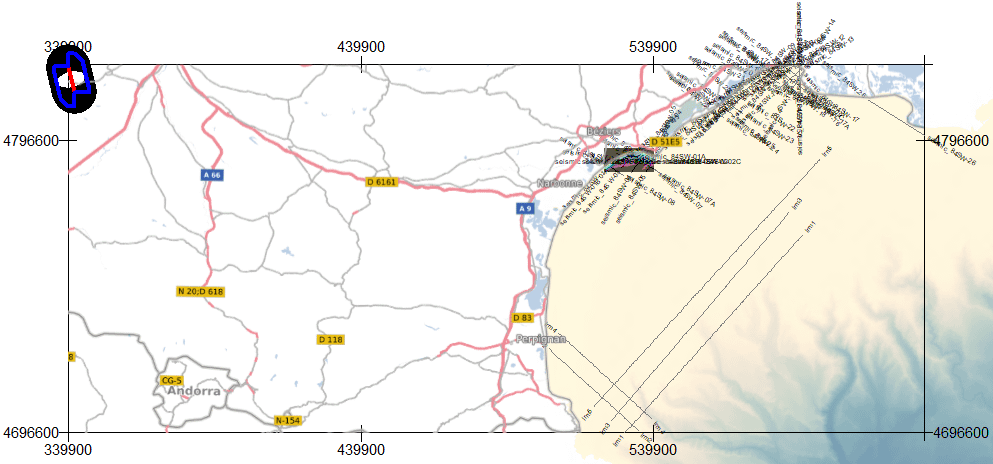
At this stage, the profile is in the middle of nowhere (top left of the image below)
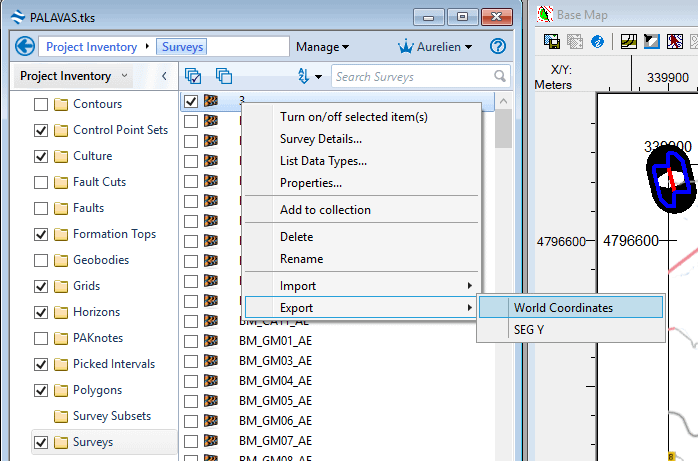
2) In the tree on the left, right click on the sgy profile and click on Export -> World Coordinates
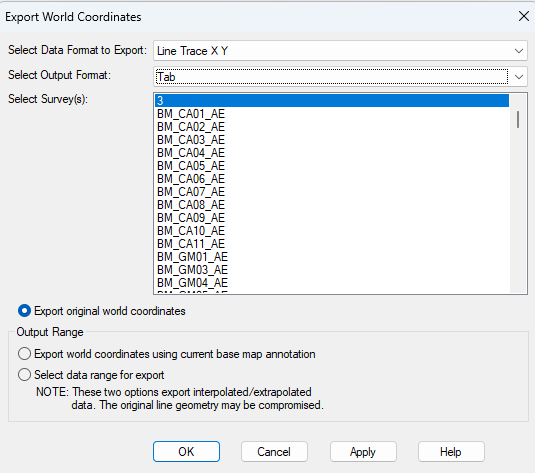
Select Line Trace X Y and Tab delimited and click ok
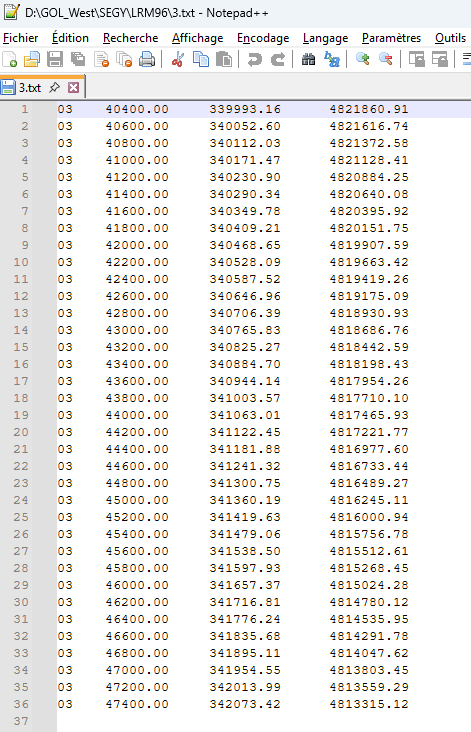
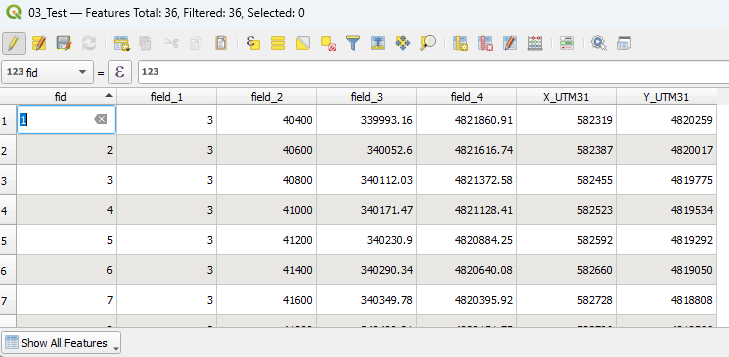
The file is a txt file that should look like this:
3) Convert the coordinates: In case you don’t know what the coordinate system is or you want to convert the system to your project, please refer to this article: https://aurelieng.fr/?p=868 and import the txt file in QGIS
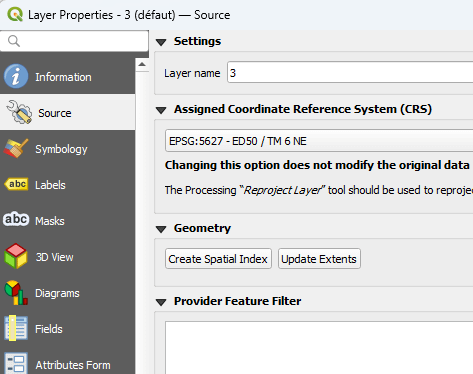
So, now you should have a collection of shotpoints (dots) along the profile at the right position in QGIS. However, the CRS is set to EPSG 5627 even if the QGIS project is set to EPSG 32631 (UTM 31 N)

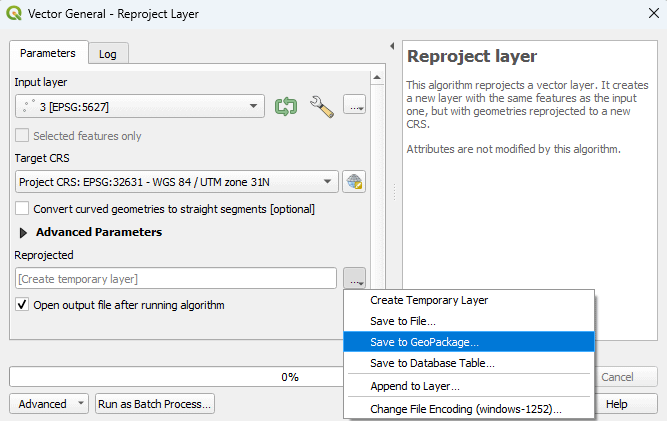
In the processing toolbox, select reproject layer

In the Target CRS, select the right CRS (obvious). Save the layer as a geopackage.
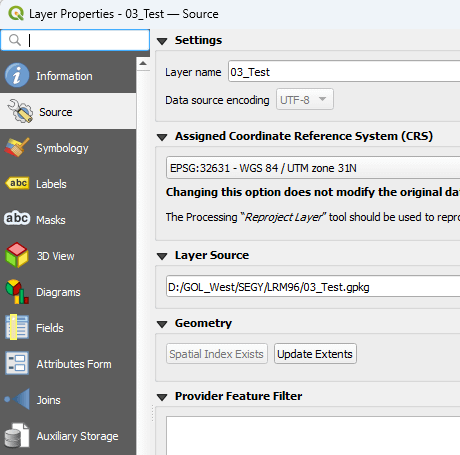
Once done, the new layer appears in the tree with the right CRS by default:
However, the Attribute Table still displays « Old coordinates » in EPSG 5627
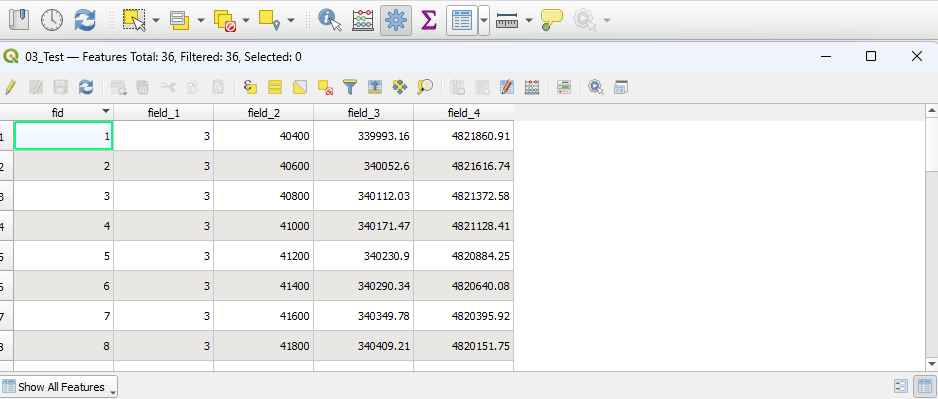
Click on Field Calculator. In the Output field name, type a filed name that correspond to you CRS, example: X_UTM31. In the expression space, type $x. It will extract all values of X in a new field. Click Apply. Then replace X by Y in both the output field name and in the expression and click Apply.

Now, your layer has 2 new fields containing X and Y coordinates in UTM31N. This will be your new Nav file
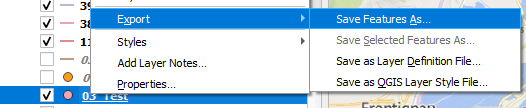
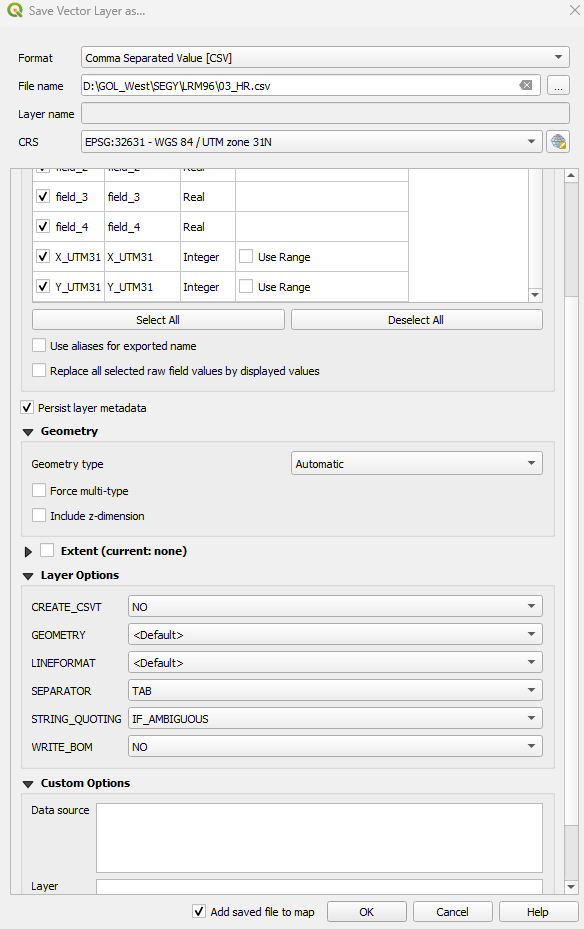
Right click on the layer and click Export -> Save features as…
Select Comma Separated Value (CSV) and in Layer option, choose Tab as Separator
4) In Kingdom, delete the profile
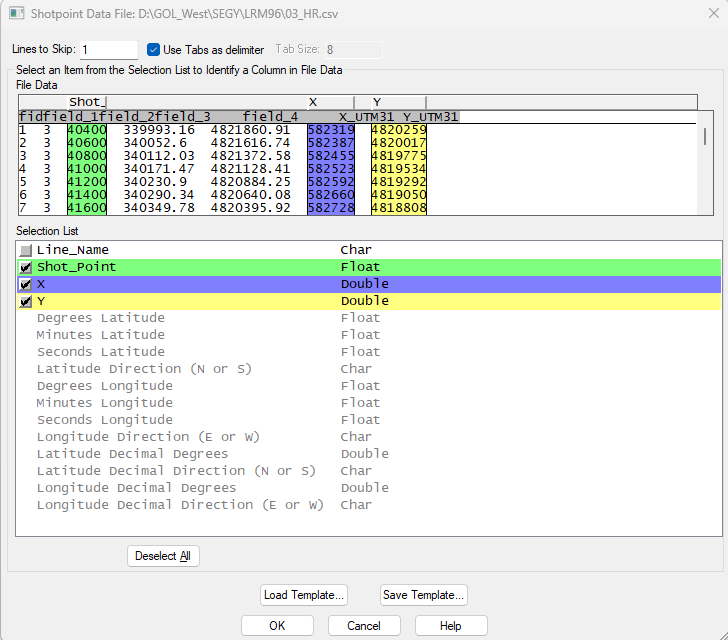
5) Import the new Nav: Right click in the Tree in a blank zone and select Management -> create 2D. Give a name to your profile and then click ok.
please also follow this article: https://aurelieng.fr/?p=669
At this stage you can use the csv file as the navigation file. It should look like this:

ENJOY !