Using QGIS is essential in starting a project as it will concentrate all spatial data needed for displaying or exporting in other softwares such as Kingdom or Petrel.
First, you must download the latest stable version here:
https://www.qgis.org/en/site/index.html

QGIS has a very active community, meaning that if you have a question, probably someone had the same question long before you and got the answer:
https://docs.qgis.org/3.28/en/docs/training_manual/index.html
In the following lines, I will explain how to import a map and get georeferenced points. That’s a good start !
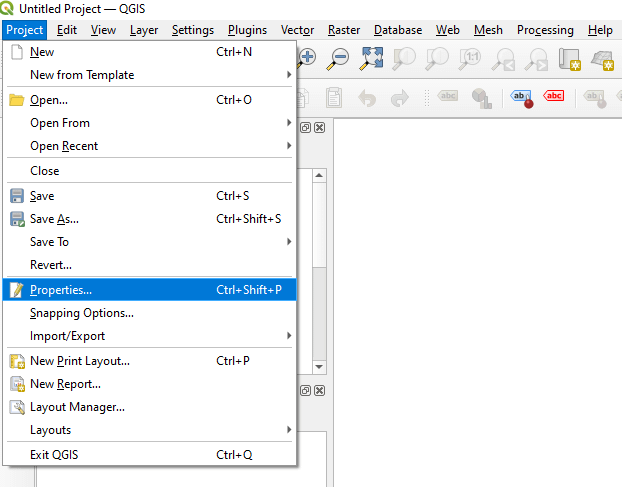
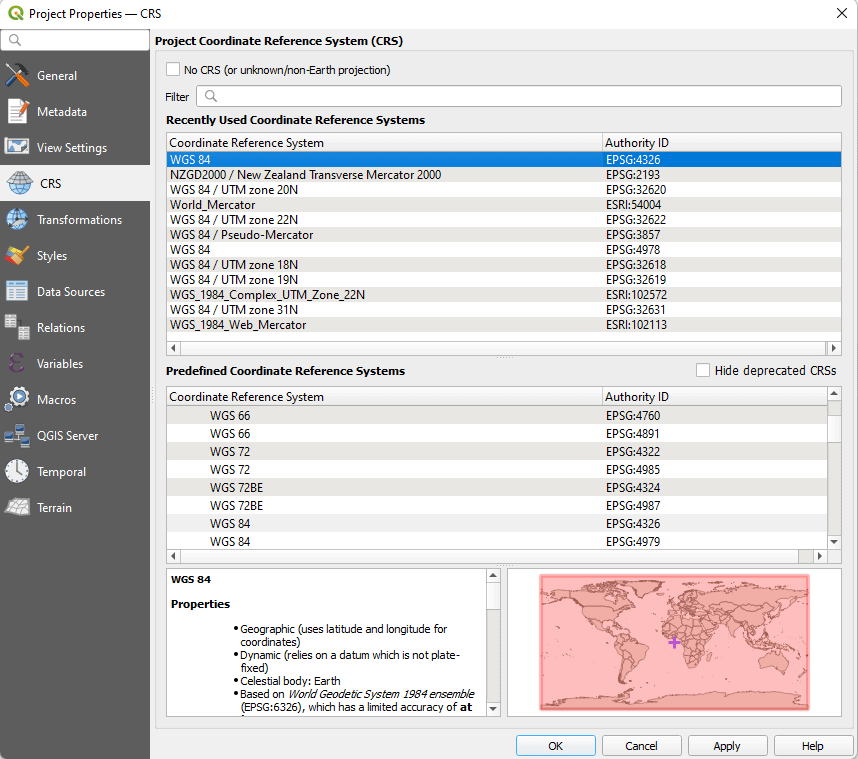
Open QGIS, click on the project menu on top of the window and click new then save as and choose a name and a location on your computer, then click again on properties.
I suggest you choose first WGS84 as it covers all earth. Then we can pick a projected system
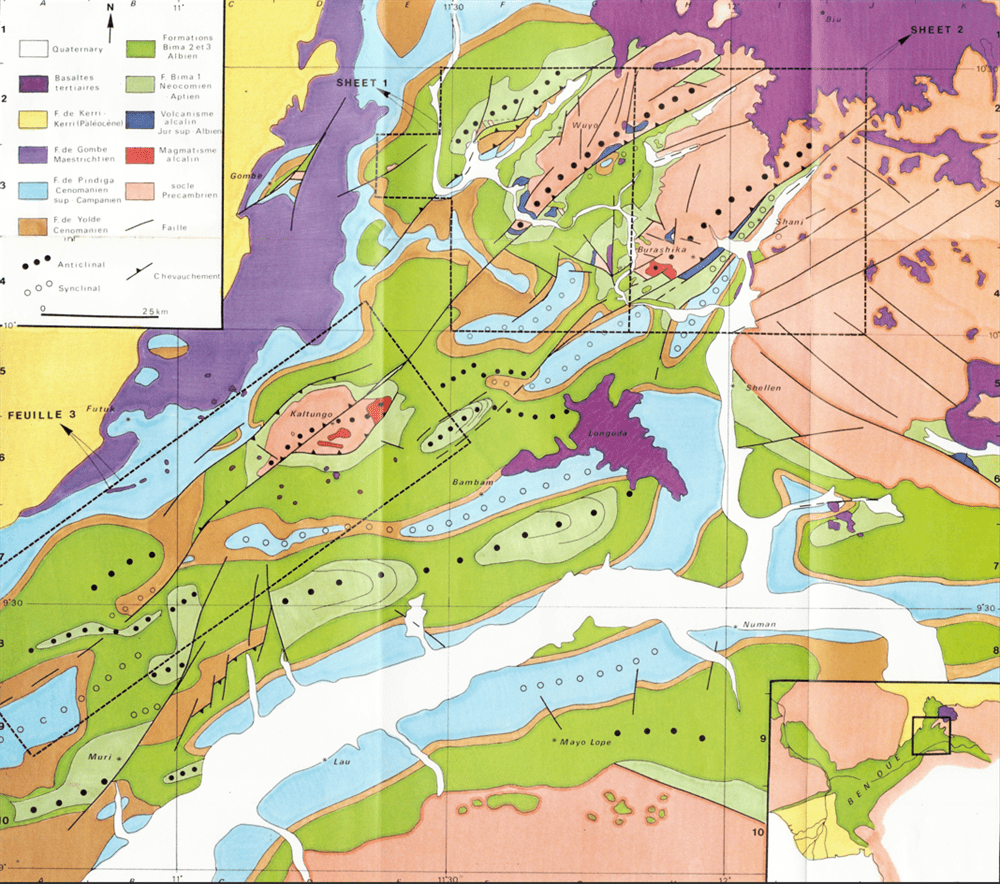
In this example, we will import a geological map on which georeferenced points are known. Any image/picture is considered as a raster file.
So, we need now to import it in QGIS. You can click layer ->Georeferencer
In the window that opens, click on
to import the image. Select the image and click add.
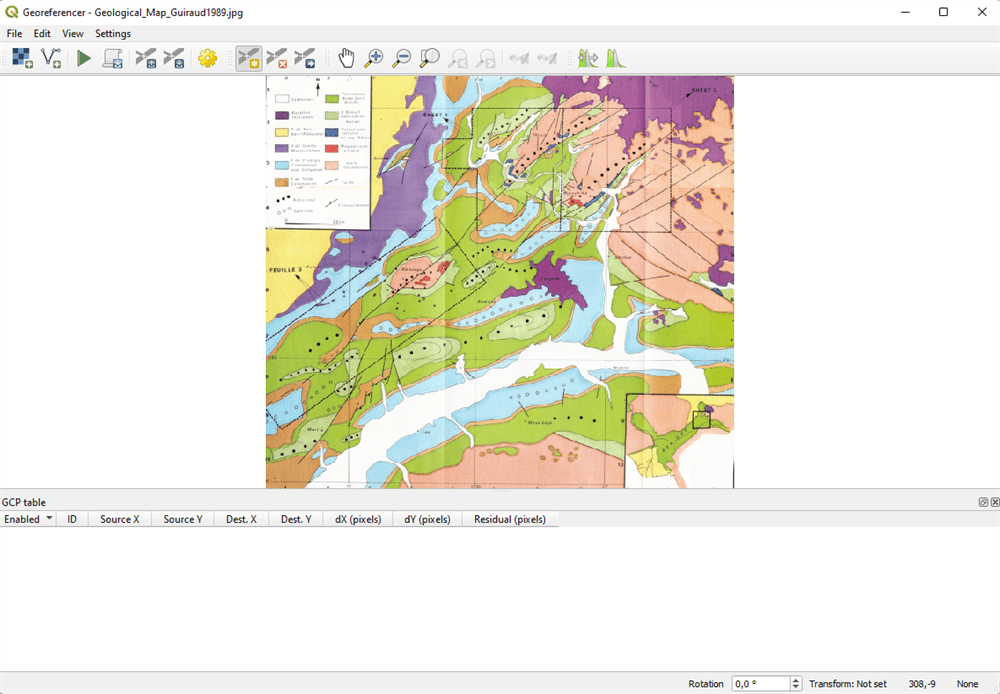
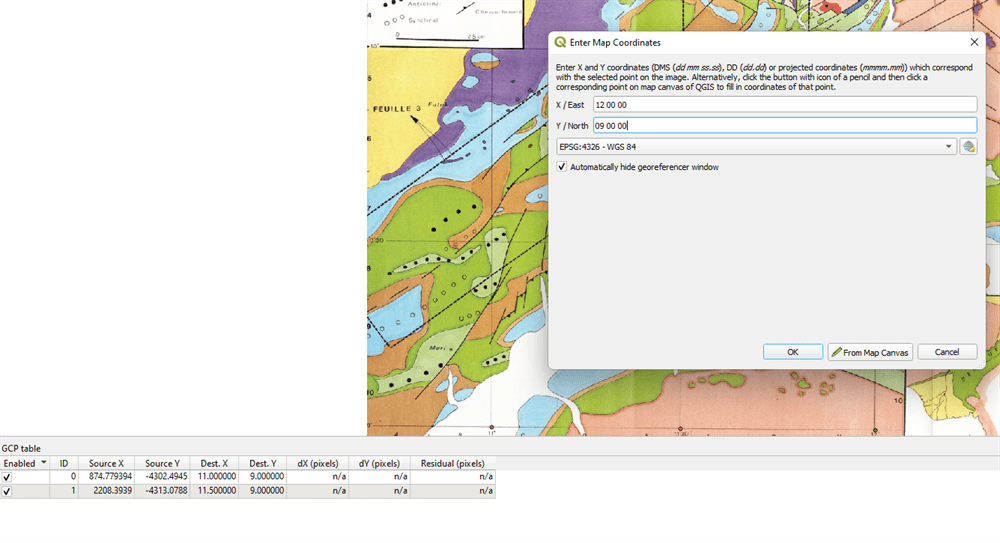
Click on add point
and start picking points using the graticules (square lines on the map). Enter X (East) and Y (North) corresponding to the crossing line points and click Ok. Do it for every points on the map.
Once done, click on start georeferencing

and choose parameters in the window that pops up :
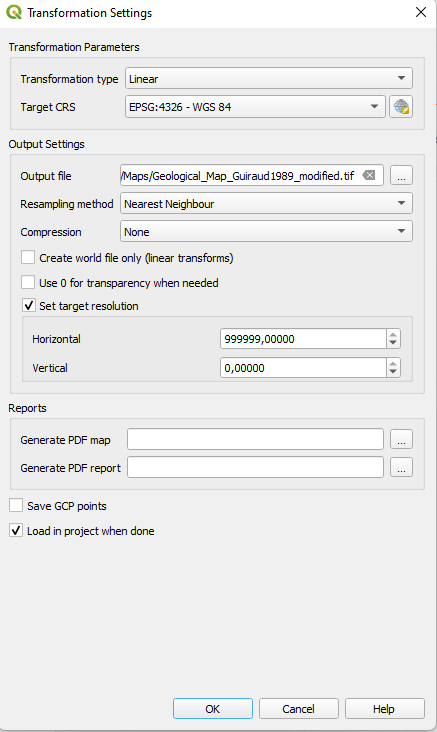
You can set the target CRS to EPSG 32632 meaning that you are in WGS 84 UTM zone 32. If it doesn’t work uncheck the « set target resolution ».
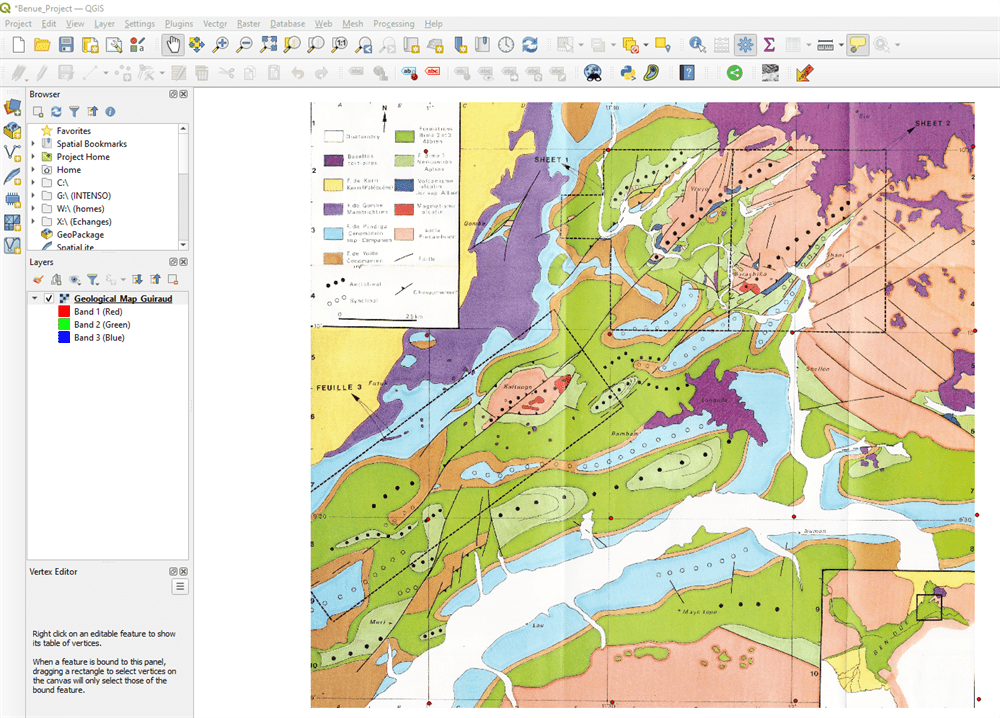
You can close the geireferencer window.
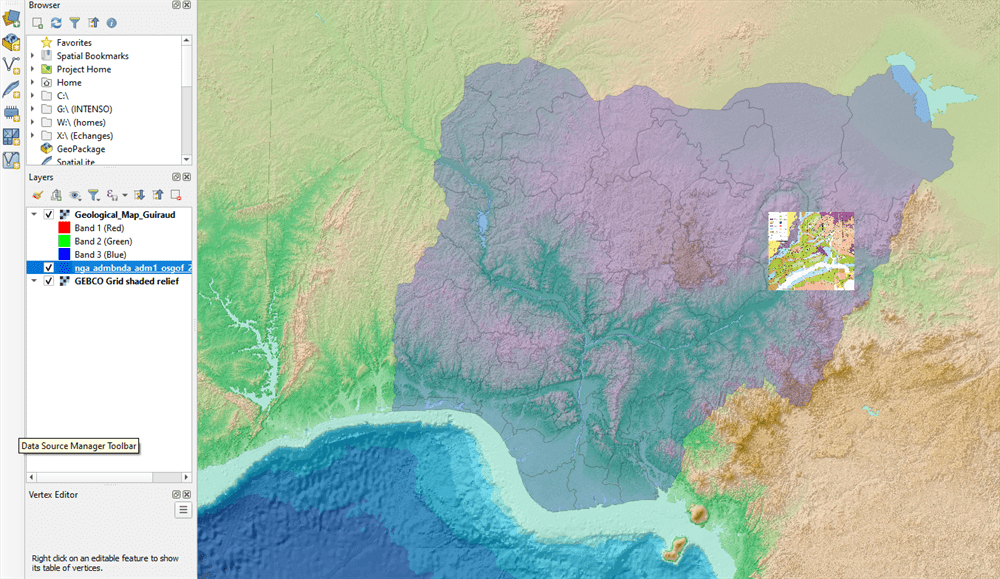
Now your project should look like this:
Now we will add a Web Map Service.
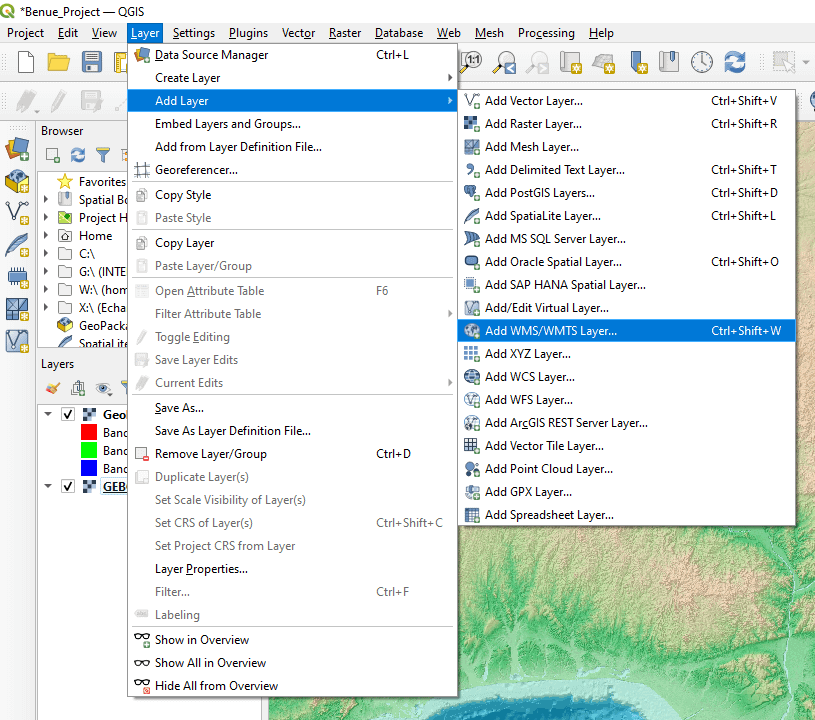
By default GEBCO data are designed for regional projects. Click on Layer -> Add Layer -> Add WMS/WMTS Layer
Select GEBCO, click connect and select the GEBCO Grid-Shaded relief, then click add. If GEBCo is not set in your QGIS version, please visit this site: https://www.gebco.net/data_and_products/gebco_web_services/web_map_service/
the WMS service is: https://wms.gebco.net/mapserv?
So, click new and add this line
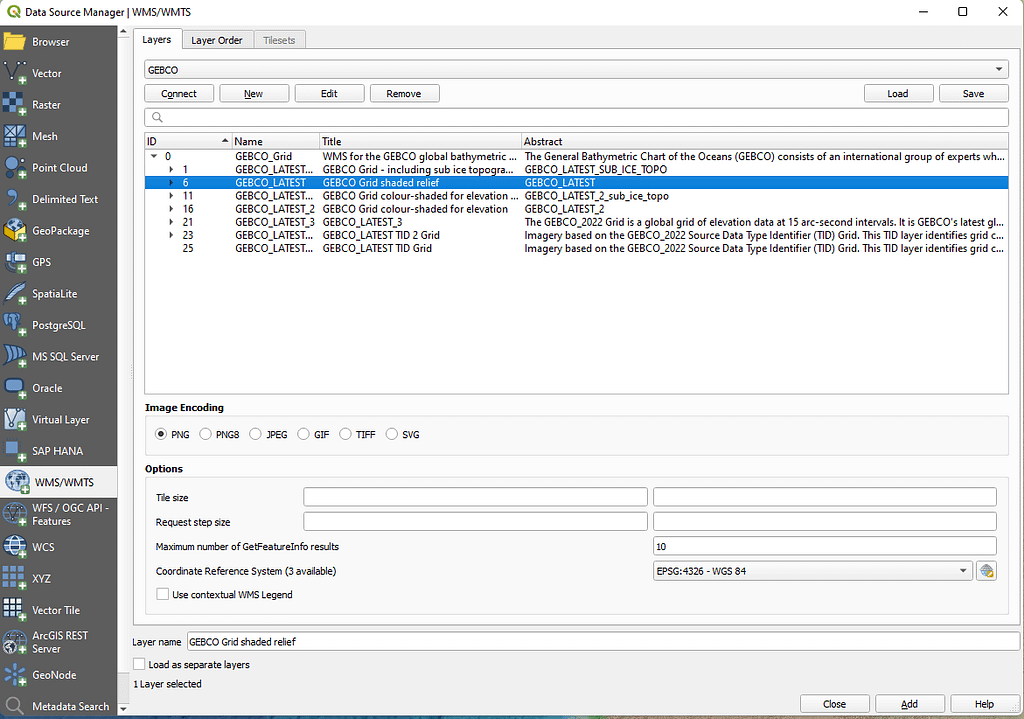
It will add the shaded relief map as displayed below:
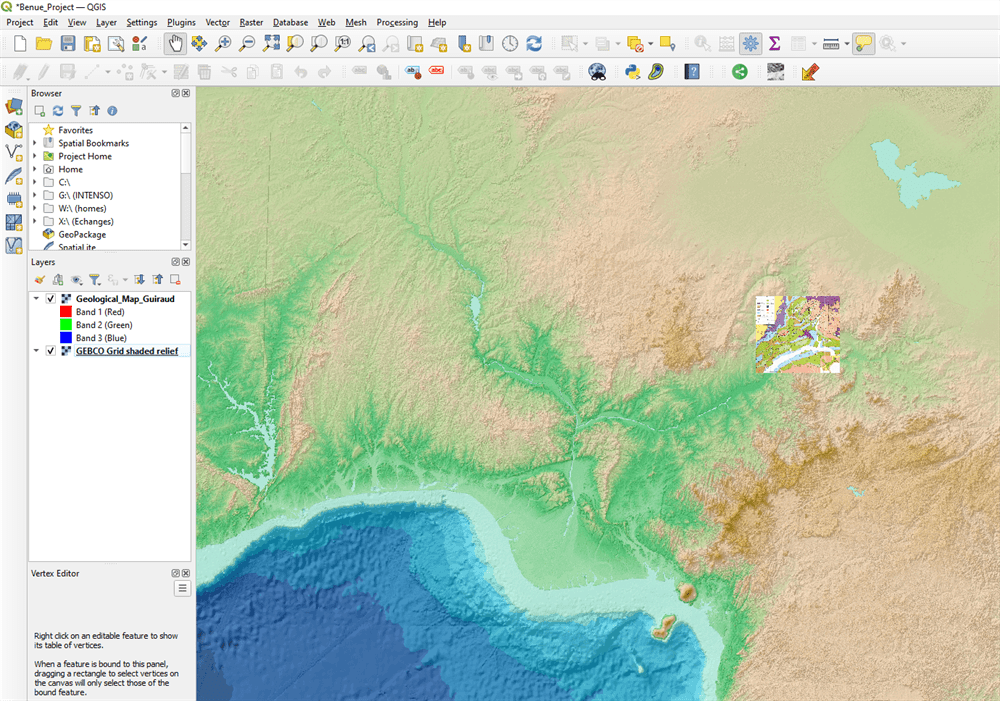
Just be sure that the GEBCO data is below the geological map in the left pane. If not, just drag and drop it below.
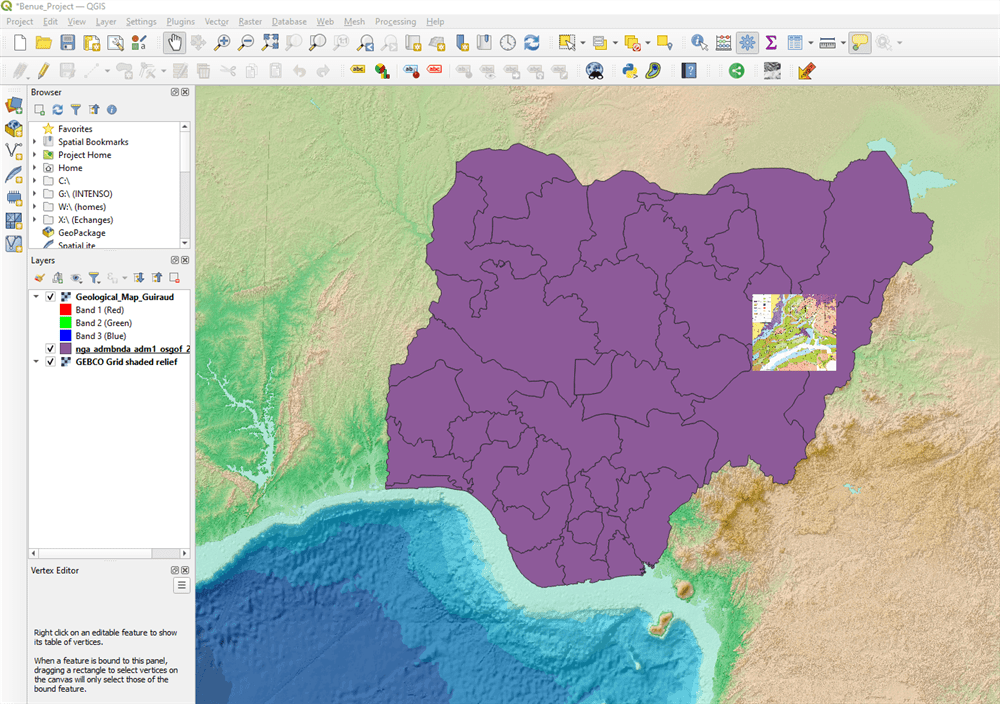
Now we will add the administrative boundary as a shapefile. A lot of shapefiles are available on internet.
For Nigeria, one is available here: https://datacatalog.worldbank.org/search/dataset/0039368
simply download it and unzip in the dedicated QGIS folder.
Now click on Layer -> Add Layer -> Add vector layer (shapefiles are vectorized lines or points)
Select the file with the .shp extension and click add
Right click on the newly shapefile in the left pane and click on properties or simply doucble click on it
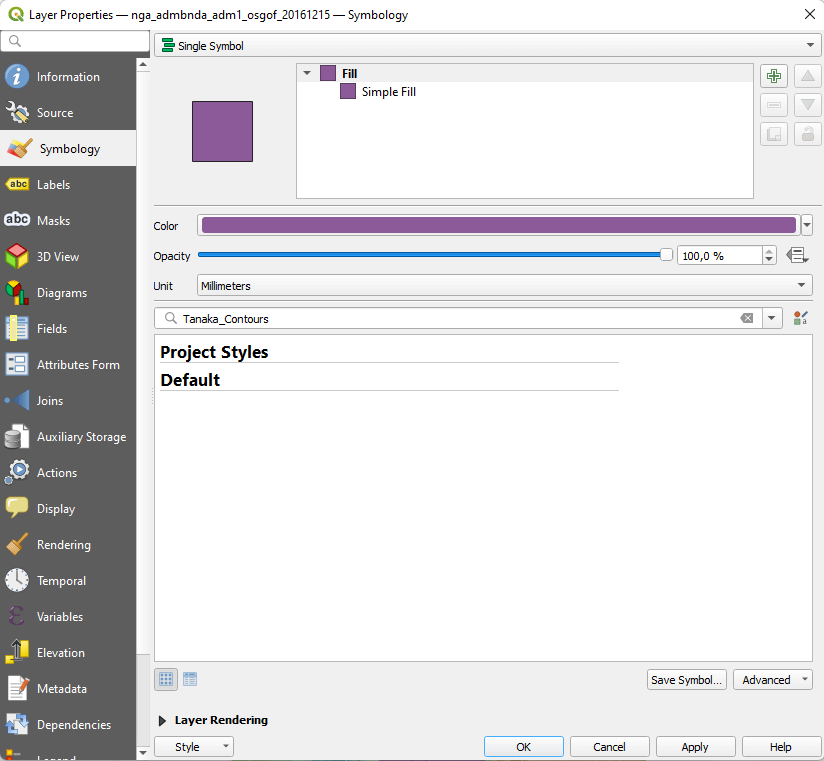
In Symbology, you can set the transparency and color.
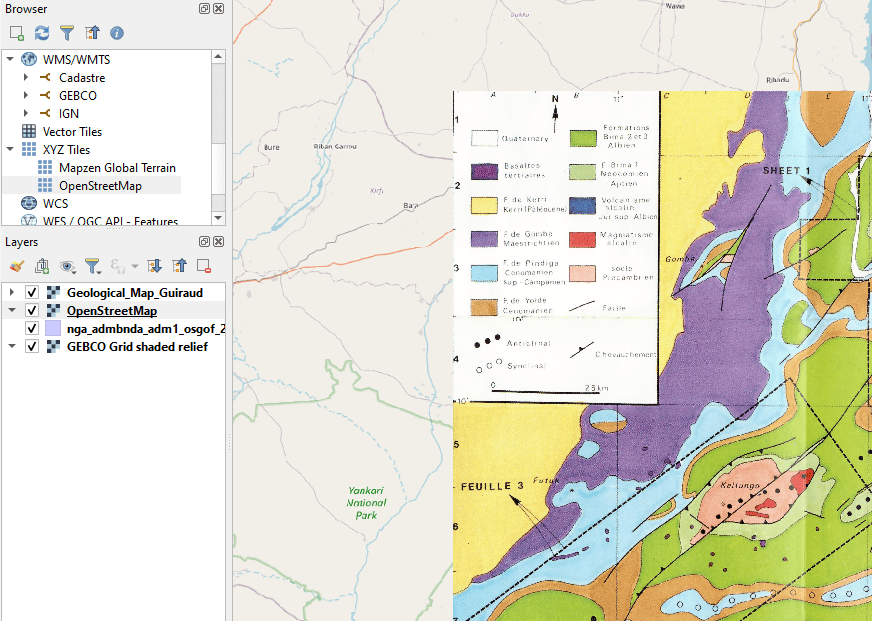
If you wish to add openstreet maps, that’s simple: just click on XYZ tiles in the left pane, and click on OpenStreetMap. It’s done !
ENJOY !
Retour de ping : QGIS: how to import a map and georeference lines and points - AurelienG