Petromod is designed for modeling fluid generation and migration in sedimentary basins. So, the first step will be to create a directory for the project
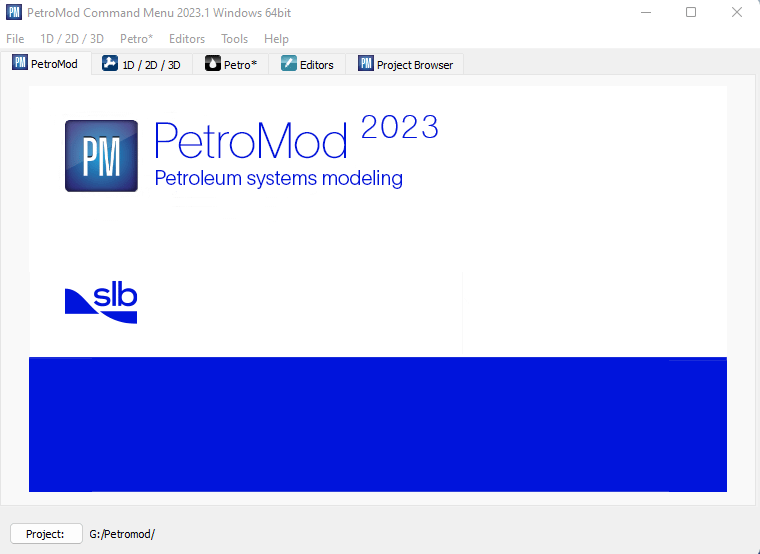
At the bottom of the window, click on the project button and select a folder. Once done, don’t add or move anything in this folder !
Petromod is organized as follows. The first icon represent the various modes available in Petromod, 1D-2D-3D. The icon « Petro » is used once a model has been simulated. The Editors icon contains all what is required for simulation.
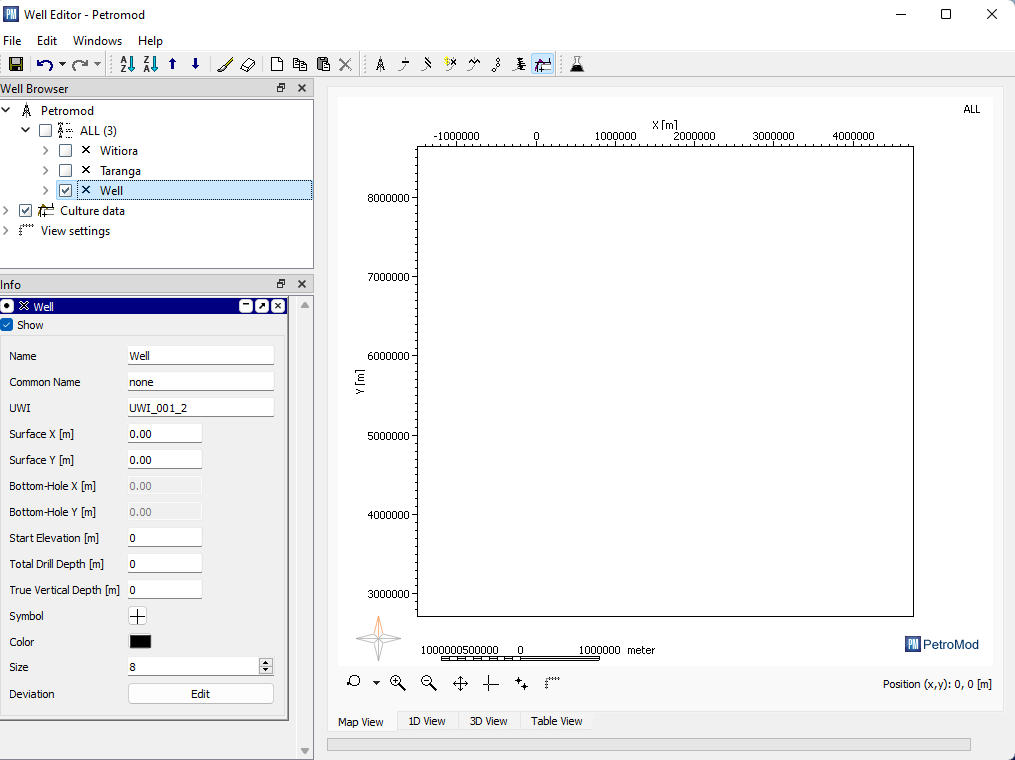
Click on Editors -> Wells
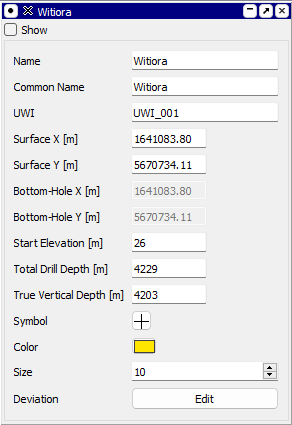
In the left pane, right click on « ALL » and click « new ». An empty well is created. All details must be added here, such as XY coordinates
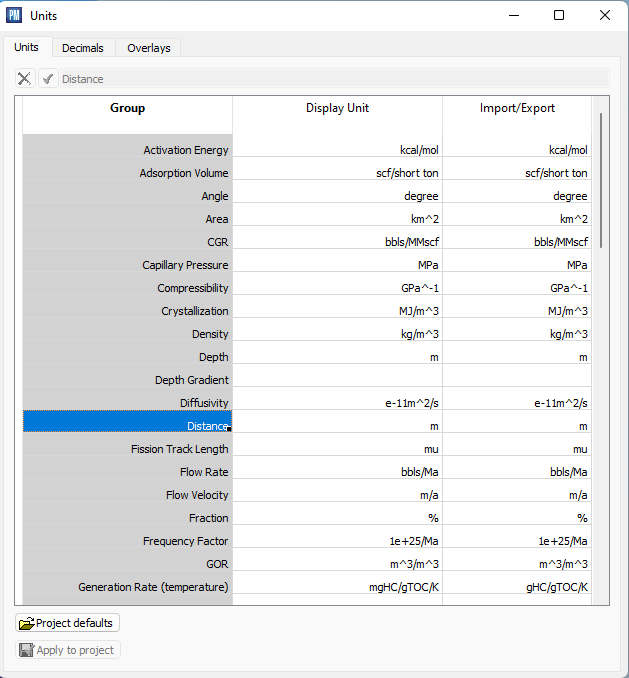
However, by default, distance or coordinate units are in km. So, click on File->Unit settings
Go to « Distance » and change it to « m »
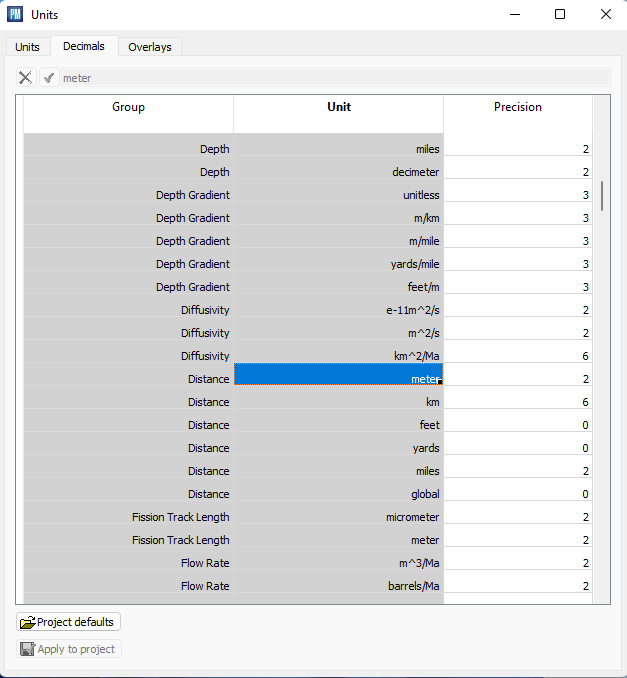
Then, in the decimals menu, go to Distance in meters and change the value to 2. It means that now coordinates car be in meters such as 556677.88 as for UTM coordinates. You can do the same for Distance in km, but change the value to 6 decimals.
Let’s go back to the main window. You can fill out the requested fields
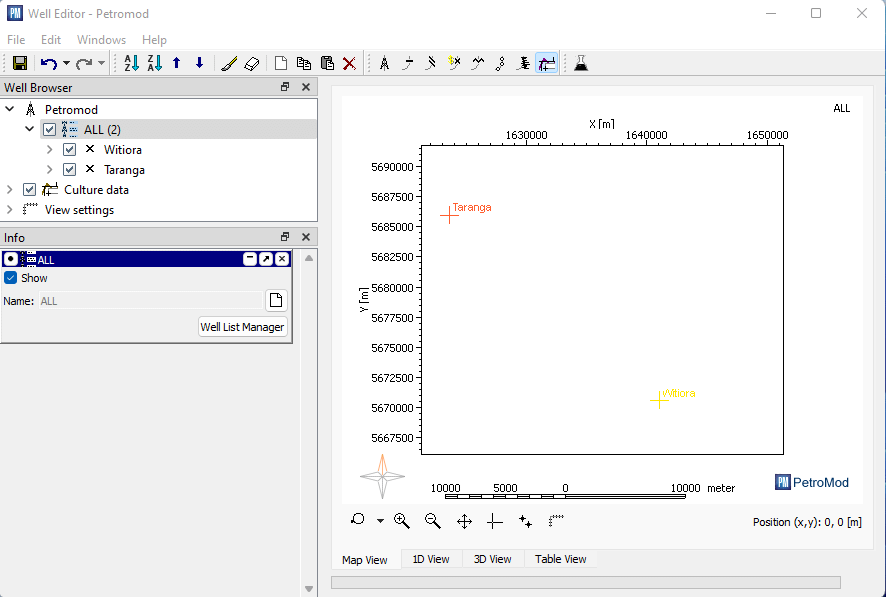
You can do the same for other wells if necessary. The main window should appear like this:
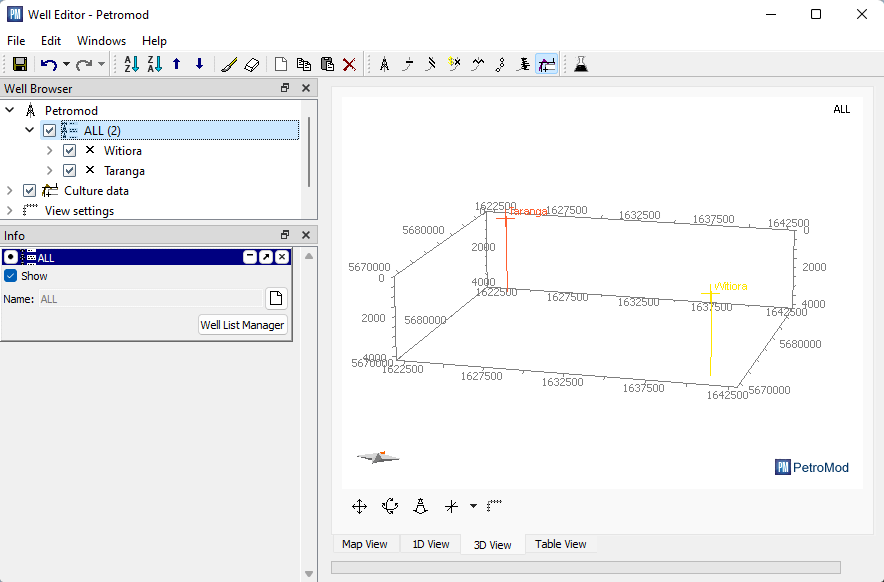
They can be displayed in a 3D view:
It’s done !